Give me strength!… and cover, and quality
22 Feb 2014, Prove Your Know How, Technical
Not all concrete is the same. By considering four key factors, you can specify and create quality reinforced concrete that will pass the test of time.
Correctly specifying reinforced concrete exposed to the weather depends on:
- The exposure zone of the location.
- The strength of the concrete.
- The amount of concrete cover provided to the reinforcing.
- The quality of the concrete.
- The placement and vibrating of the concrete.
Which exposure zone?
Exposure zones need to be considered when specifying concrete exposed to wind, rain and salt spray.
Depending on the severity of salt spray given in NZS 3604:2011 Timber-framed buildings, NZS 4229:2013 Concrete masonry buildings not requiring specific engineering design, and E2/AS1, the exposure zones are:
- Exposure zone B, defined as low risk.
- Exposure zone C, defined as medium risk.
- Exposure zone D, defined as high risk.
- Exposure zone E, which is close to breaking surf and has the highest risk.
Exposure zone E is not used in NZS 3604:2011 but is used in E2/AS1 for metal cladding selection.
Specify the right strength
To address the minimum compressive strength requirements for durability, NZS 3604:2011 paragraph 4.5.2 and NZS 4229:2013 paragraph 7.8.1 specify that the minimum 28-day strengths expressed in megapascals (MPa) for reinforced concrete and grout fill to concrete masonry are:
- 17.5 MPa in exposure zone B.
- 20 MPa in exposure zone C.
- 25 MPa in exposure zone D.
Geothermal hot spots require specific engineering design.
Concrete must comply with NZS 3104:2003 Specification for concrete production, and masonry must comply with NZS 4210:2001 Masonry construction: Materials and workmanship.
As a general rule, 20 or 25 MPa concrete is recommended. This gives improved performance for little additional cost – well worthwhile if the concrete is to be exposed during use in areas such as garage floors or where tiles are to be laid.
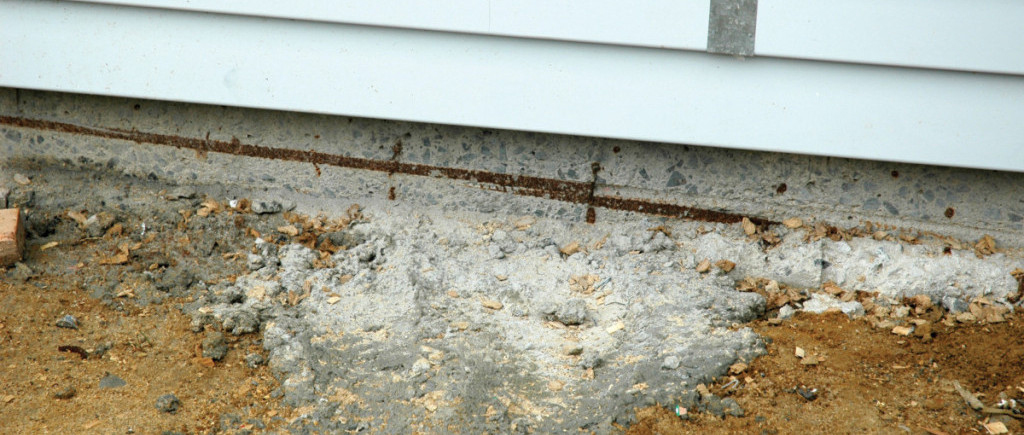
Provide enough cover
NZS 3604:2011 paragraph 4.5.1 specifies minimum cover to steel of:
- 75 mm for concrete placed directly on or against the ground.
- 50 mm when placed against formwork and the concrete has the strength requirements above.
- 30 mm for the top of an exposed slab protected from the weather.
- 50 mm for any slab surface exposed to the weather.
An alternative approach allowed by NZS 3101:2006 Concrete structures is to use 17.5 MPa concrete with 75 mm cover to the steel or 50 mm cover if a damp-proof membrane is used.
For concrete masonry foundations, the minimum cover requirements are:
- 45 mm in zone B and for interior conditions (17.5 MPa).
- 50 mm in zone C (20 MPa).
- 60 mm in zone D (25 MPa).
Good vibrations
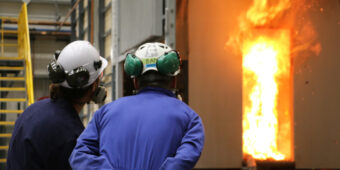
One of the keys to good-quality cured concrete is correct vibration after it’s poured. This compacts it and consolidates the mix by removing trapped air. But how do you get it right?
If concrete is poorly compacted and has air voids, particularly voids exposed to the weather, it will be significantly weaker and less durable than expected.
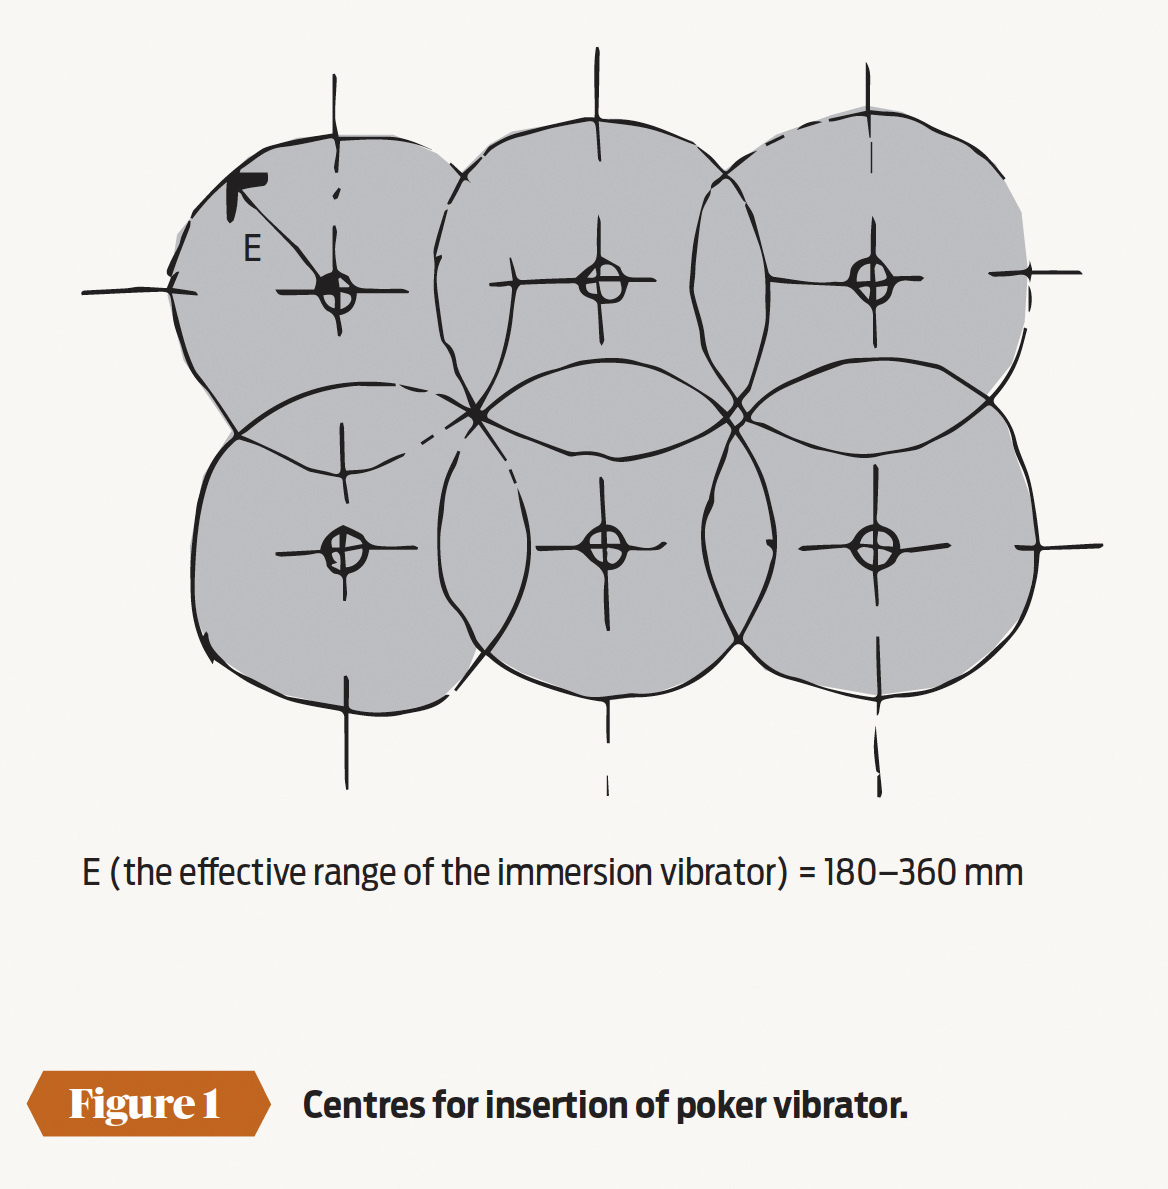
Using a Poker vibrator
An immersion or poker vibrator will improve the compaction of all types and thicknesses of concrete construction. Even pump mixes must be vibrated, even though they may appear to be more readily compacted by the screeding process.
A vibrator with a head diameter of 20-30 mm suits most house slabs. It is essential that a poker vibrator is used for compacting concrete in walls. Place and compact the concrete in layers no more than 300 mm.
Pointers to good vibrations
The keys to properly vibrating walls and slabs are to:
- Make sure you can see the concrete surface.
- Let the poker sink quickly – if done slowly, the top of the layer will be compacted first, making it more difficult for trapped air to escape.
- Leave the poker in the concrete for about 10 seconds and withdraw it slowly to make sure that the hole made by the poker is filled up.
- Repeat the process at the correct centres (see Figure 1).
- Make sure that the poker head doesn’t touch the formwork face, reinforcing or DPM.
Compacting concrete with a vibrator takes place in two stages:
- In stage 1, which takes 3–5 seconds, the concrete liquefies.
- In stage 2, which takes a further 7–15 seconds, the trapped air is expelled.
Care needed
Take care not to under-vibrate the concrete. Initial consolidation is rapid and the level of the concrete will
drop, but this does not mean that all the air has been driven out.
Pay special attention to compacting concrete in locally thickened regions, such as perimeter beams and thickenings under load-bearing walls.
Repair the right way
A new BRANZ series provides builders with step-by-step instructions on repairing common problems in NZ houses.
BBRANZ has published a full set of publications as part of its Good Repair Guide series:
- Damp Subfloors
- Repainting Textured Finishes
- Horizontal Timber Weatherboards
- Interior Painting
- Timber Windows
Other titles include: aluminium windows, dealing with mould, external gutters, improving internal ventilation and profiled metal roofing.
The series explains the causes of the most common problems in New Zealand houses and provides the building professional with blow-by-blow descriptions of how to repair them.
Packed with numerous drawings and photos, these guides give practical, hands-on advice for dealing with a wide range of repair issues.
Books are available for purchase for only $20.95 each + $3 p&p. They can be ordered online www.branz.co.nz or call 0800 80 80 85.
For more information on the Good Repair Guide series go to www.branz.co.nz.
Register to earn LBP Points Sign in