Managing timber moisture
29 Aug 2016, Product Focus, Prove Your Know How

Bringing wood’s moisture content into a workable range is key to preventing issues – Carter Holt Harvey offers tips on how to ensure your moisture content is at the right level before you start work
Laserframe® is a structural timber manufactured by Carter Holt Harvey® Woodproducts and used for residential and commercial building framing.
The kiln-dried product is manufactured from plantation-grown New Zealand radiata pine, which is lightweight and offers fast close-in.
It is machine-stress graded for structural assurance and features excellent nail holding, nail plating, gluing and screwing properties.
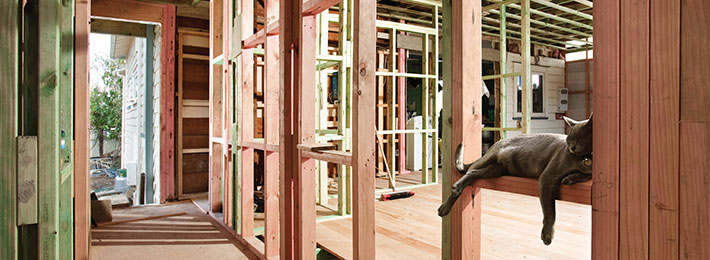
Laserframe® is kiln dried and verified in its dry state at the sawmill in accordance with AS/NZS 1748 and NZS 3622. It is then treated with Boron H1.2 , or CCA H3.2, for use in construction. From the time it leaves CHH Woodproducts, until the time the frame is enclosed on the building site, there are many opportunities for the timber to be exposed to moisture. Moisture exposure can lead to high moisture readings and slow your job site down.
There are a number of things you can do to ensure you keep your frames and other timbers as dry as possible. This includes:
- Store Laserframe at least 100mm clear of the ground on bearers suited to keeping the timber straight.
- Lift packets off delivery trucks – don’t tip them off.
- Keep your timber covered while stored on site to minimise exposure to wind and rain.
- Avoid ponding of water on your floors and around timber bottom plates.
- Enclose your frames as soon as possible.
Remember, it’s important to keep timber dry to prevent moisture-related defects so, if the product does get wet – dry it out!
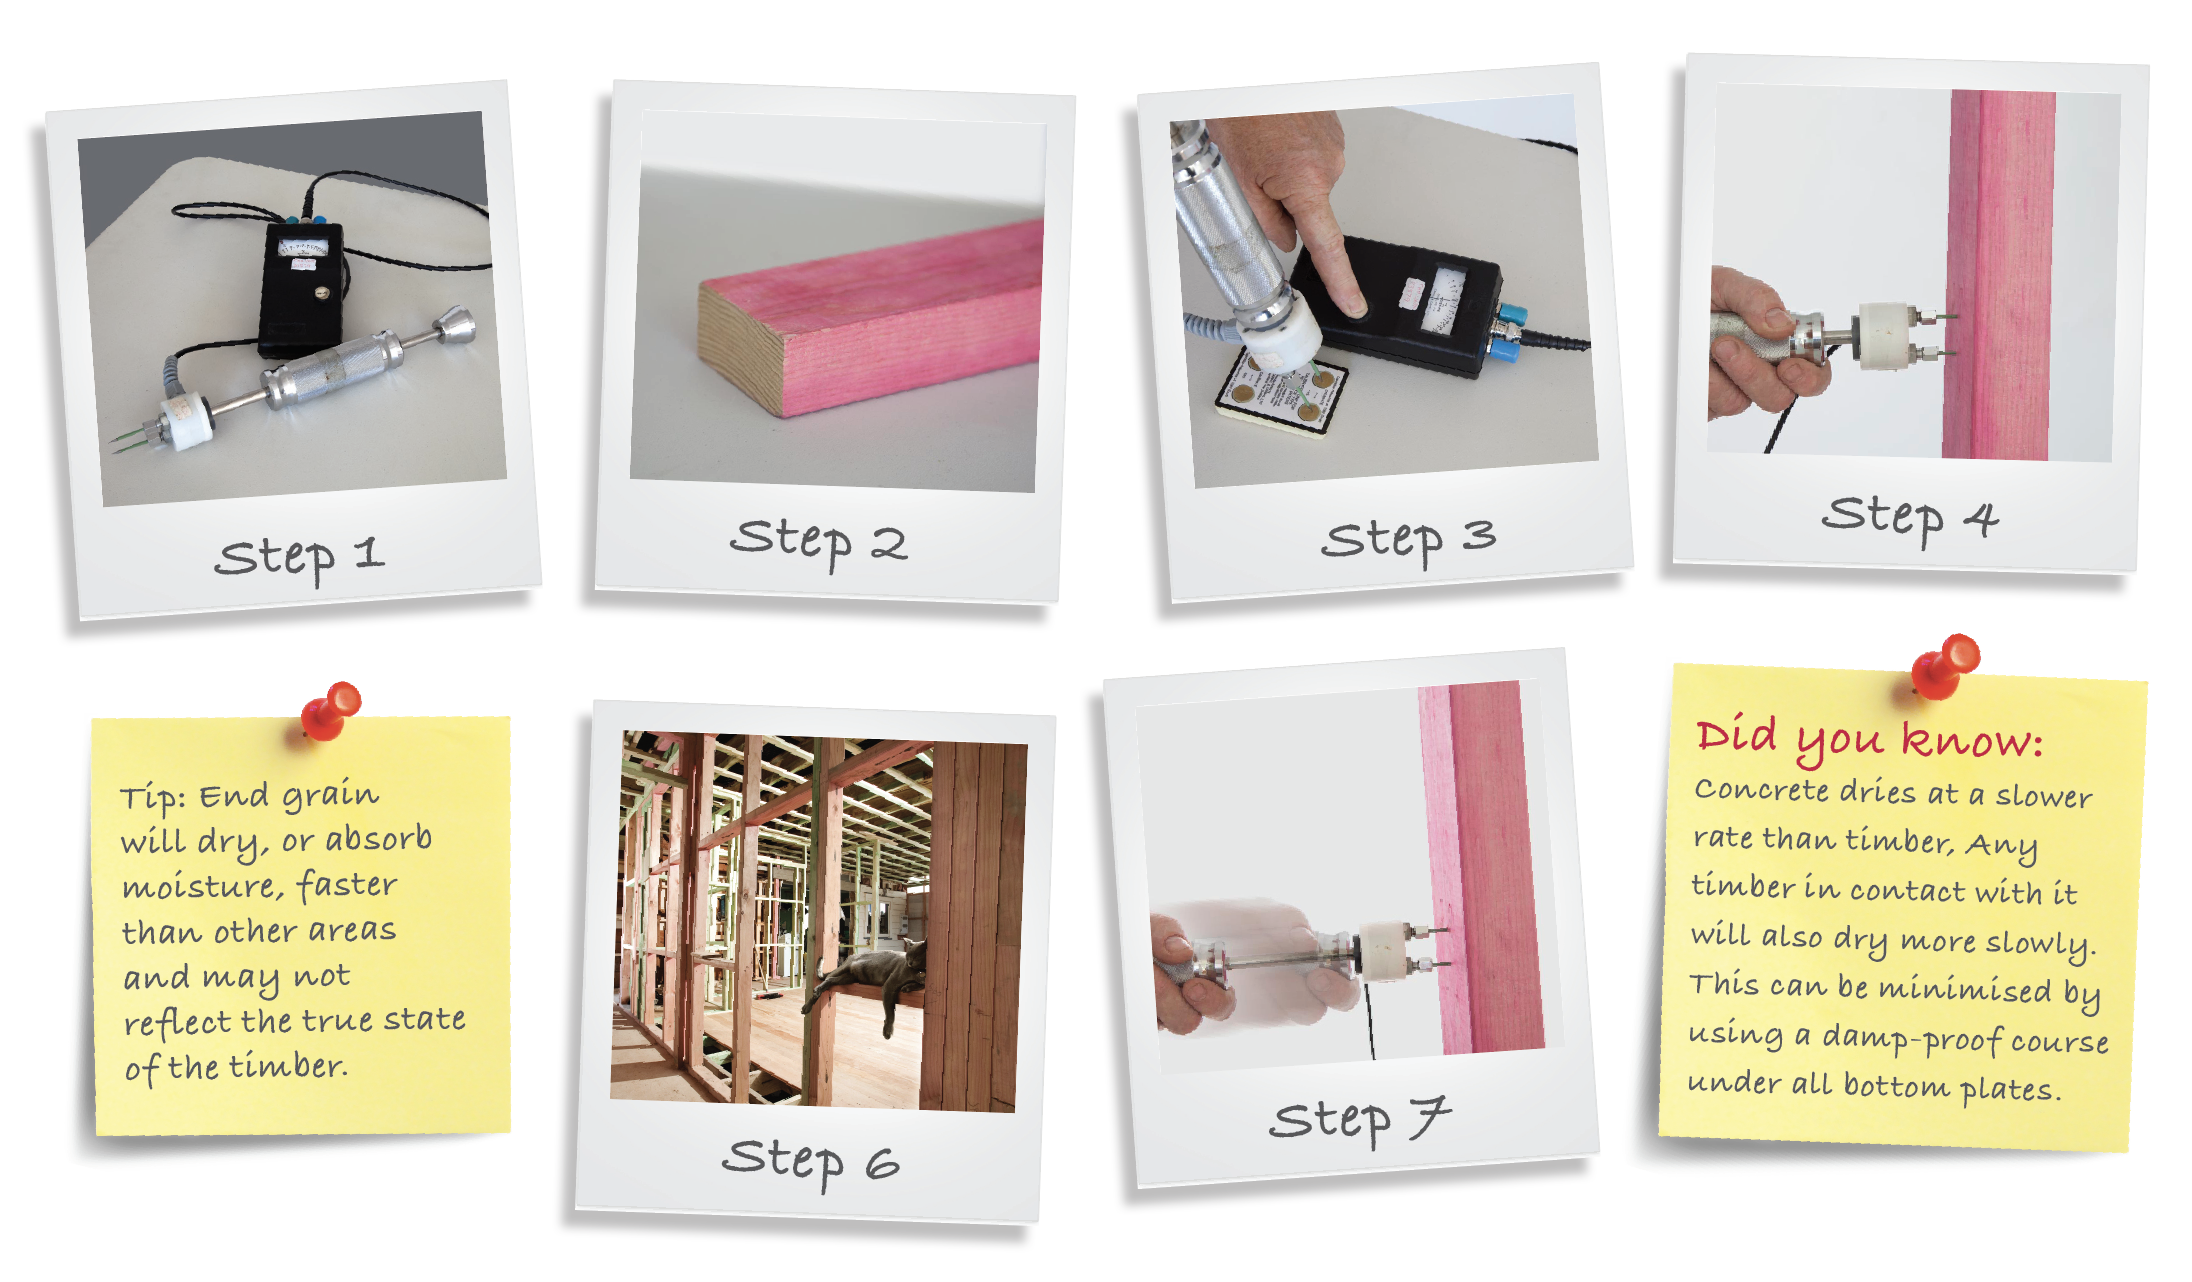
HOW TO TAKE A MOISTURE READING:
Step 1: The only appropriate moisture meter to be used on site is the ‘sliding hammer’ type, which is a resistance meter with insulated long prongs (30 mm). To use a capacitance meter or another type will almost certainly give false readings.
Step 2: Use insulated electrodes only. Tip: If the meter has not been used for some time, check it against the test card. Ensure that the meter is calibrated annually.
Step 3: Thoroughly check the meter and make sure that the batteries are charged and the electrodes are in good working order and correctly connected.
Step 4: Insert the insulated probes to approximately one-third the thickness of the timber, parallel to the grain, and at least 500 mm from an end of the timber.
Step 5: Test the areas of framing to which internal linings are installed, such as wall framing, rafters, ceiling battens and floor joists.
Step 6: Read and record the moisture content percentage of each individual piece of timber identified to be sampled with at least half the samples taken in areas of restricted drying. Increase sampling proportionally for larger buildings.
Step 7: Carefully remove the probes without bending them. Use the sliding hammer attached to the longer probes.
Step 8: The meter reading must then be corrected by applying correction figures for treatment type.
Step 9: Record the result.
Register to earn LBP Points Sign in


