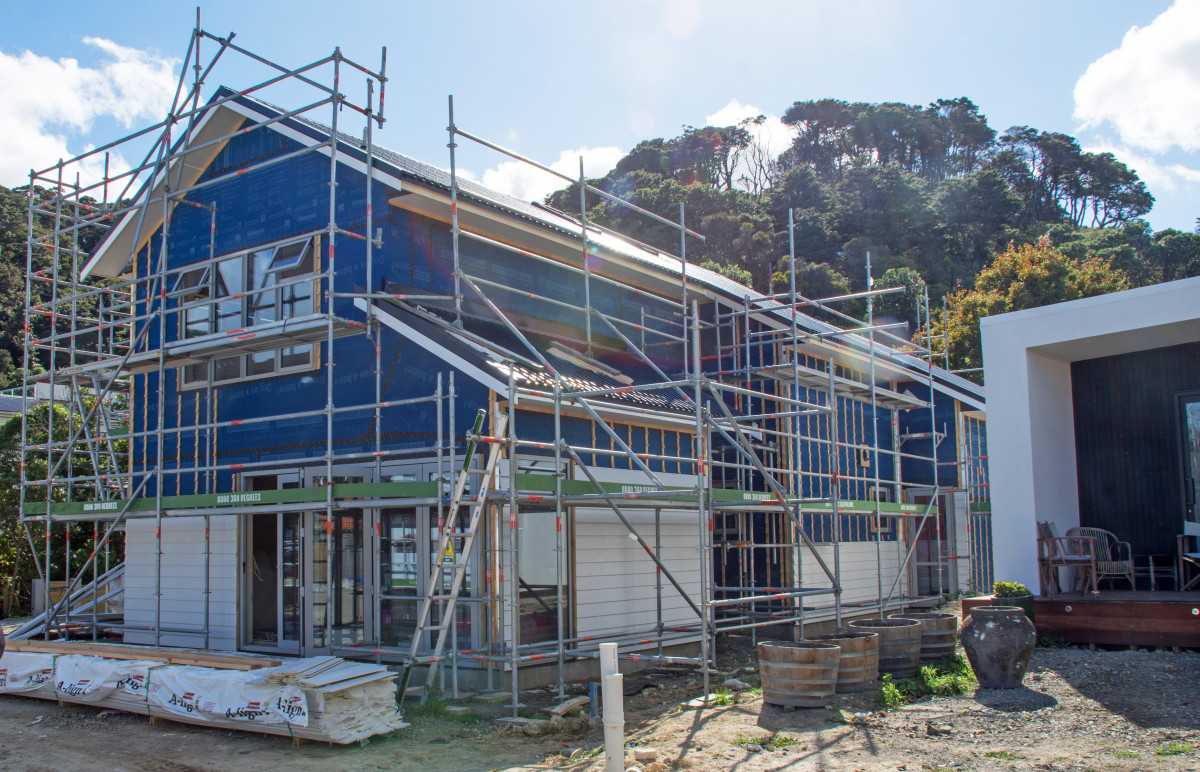
Soffit detail at gable verge
21 Feb 2017, Featured, Prove Your Know How, Technical

BRANZ highlights a new method to achieve weathertightness at the junction between the soffit and the wall cladding at gable verge
Gables need to be carefully detailed and constructed to prevent wind-driven rain penetrating the junction between the soffit and the wall cladding. Follow this step-by-step guide to achieve a weathertight detail.
There is a two-fold weathertightness problem at the junction between the soffit and the wall cladding:
- Gables tend to be higher and more exposed.
- The cladding is cut to the angle of the roof pitch where it intersects with the soffit lining to create a wedge-shaped gap at each end of the boards.
Traditional compounds problem
The traditional way to construct eave and verge details is to install soffit linings before the external cladding. This compounds the weathertightness problem as the cladding is butted to the soffit lining, allowing any water running down the soffit to enter the gap between the lining and the top of the cladding. From there, it will run down behind the cladding.
Better to install weatherboards first
A better way to achieve a weathertight detail is to install weatherboards first. The intersection of the soffit lining and the top of the weatherboards can be effectively flashed and wedges installed to block the gaps between the weatherboards.
The sequence of construction is described in Steps 1–7 and shown in Figures 1 and 2.
Step 1 – Carry wall underlay up the wall framing and turn out over the underside of the flying rafters/soffit framing.
Step 2 – Install vertical cavity battens and raking cavity batten to close off the roof space.
Step 3 – Install bevel-back weatherboards up to the underside of the soffit framing. Ends of weatherboards are cut to match the angle of the roof pitch.
Step 4 – Fix minimum 45 × 45mm angle flashing to the underside of the soffit framing and over the weatherboards. For boxed soffit, fold flashing to form a stop-end at the bottom. Fit an additional angle flashing behind the fascia return.
Step 5 – Install the soffit lining by slotting it into the groove in the bargeboard and fixing to the framing.
Step 6 – Cut wedges to fit gaps at the junctions of the soffit and the weatherboards.
Step 7 – Fix a timber trim or cover batten to the intersection between the soffit lining and the weatherboards.
Figure 1 below:
Register to earn LBP Points Sign in
2 Comments
Leave a Reply
You must be logged in to post a comment.


Nice quiz
done