Underlay the right way
14 Jun 2017, Featured, Prove Your Know How, Technical
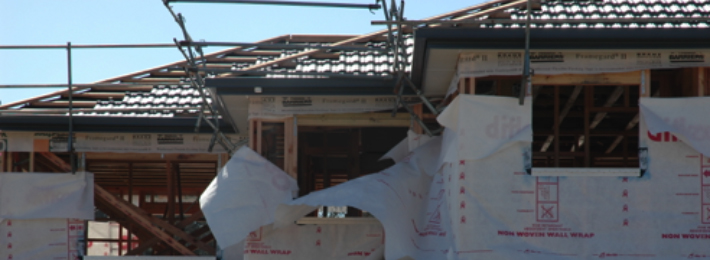
Wall underlay plays a crucial role in the weathertightness of timber-framed houses – if it’s not installed properly, water that gets through the cladding and underlay can reach the framing and insulation
Poorly fitted underlay is a more common problem than you might think – 200 houses under construction were inspected in 2014, with loose wall underlay on half of them.
While cladding will always be the first line of defence against water, in extreme situations the underlay may be called on to provide a backup where the cladding is installed over a cavity. For a direct-fixed cladding, it is likely at some time in the life of the building that water will be in contact with the wall underlay. Underlay must be installed to allow water to flow downwards and around any penetrations without reaching the framing or insulation.
Properly installed wall underlay also helps prevent excessive air movement through the wall. This means the air in bulk insulation remains still, and the insulation does its job. With a cavity, underlay also helps keep the insulation in place and maintains the cavity space.
Options in E2/AS1 are a flexible wall underlay, or a rigid underlay that has a flexible underlay installed over it. Proprietary rigid air barriers, which provide the same function, are outside the scope of E2/AS1 but commonly consented as an Alternative Solution.
Flexible wall underlay installation sequence in cavity construction
- Use only one wall underlay product on a building.
- Install the wall underlay horizontally over the framing. Start from 10–15mm below the bottom plate and carry it up to the top of the top plate. Lap a higher layer over the lower layer by 150mm. Fix securely to studs and dwangs so the underlay is taut across the framing.
- At the end of runs and on gable walls, laps should be made vertically with a 150mm end lap over studs. Tape vertical joins.
- Trim openings by cutting at 45° away from the corners and folding the underlay around the framing.
- Apply flexible flashing tape to the opening.
- Where they are used, fix vertical battens (except above openings) following E2/AS1. Use a continuous horizontal closer batten across the top of the wall and a slotted cavity closer along the bottom.
- If battens are at centres wider than 450mm, fix additional battens vertically from the top to bottom plate at mid-stud to hold the underlay against the framing. Alternatively, install horizontal tapes or wires at 300mm maximum centres. This helps prevent the underlay from bridging the cavity after bulk insulation is installed, maintaining cavity drainage and ventilation paths.
- Install penetrations (pipes, wiring and so on) and seal carefully with flexible tape.
- The wall underlay must be as weathertight as possible before the building is closed in. Damage to underlay will significantly reduce its in-service performance. Repair any cuts and tears, and replace damaged underlay before windows, doors and cladding are installed.
- In some cases, wall underlay is used to give protection to the building under construction and will be exposed for several weeks. Fix it to withstand wind pressure, rain and UV exposure. Do not go beyond the manufacturer’s maximum exposure time – commonly 30 or 60 days.
©BRANZ Builder’s Mate 82, February 2017 www.branz.co.nz/builders_mate
Register to earn LBP Points Sign in
1 Comment
Leave a Reply
You must be logged in to post a comment.


done