Seal of approval
22 Mar 2018, Prove Your Know How, Technical
Sealants play a critical role in making joints weathertight and allowing movement. It is important to get the application right
The sealant needs to keep joints closed during repeated movement – for example, as wall claddings heat/expand and cool/shrink over 24 hours. To do this, there needs to be good side adhesion and the correct width-to-depth ratio of sealant in a joint.
The four key steps to ensuring effective sealant performance are:
- Choosing the right sealant for the job.
- Good joint preparation.
- Priming the joint substrate.
- Applying the sealant correctly.
Many sealant problems come from poor preparation of joints and priming, and poor sealant application. This often leaves the sealant too shallow.
As always, follow the manufacturer’s use and application recommendations. There is little to gain and a lot to lose in trying to save money through buying a cheap, inappropriate product or skimping on application.
The correct choice of sealant depends partly on the material. For example, lightweight claddings may experience faster/greater temperature changes and rapid/larger movements.
This creates more stress on sealant bond surfaces. Sealants with higher rapid movement capability or elasticity are best in these cases.
Before applying sealant, clean joint surfaces to remove dust, crumbly material, oil and grease. Repair damaged edges. The joint must be dry during sealant application.
Priming is often necessary for good adhesion and a durable sealant bond, especially for:
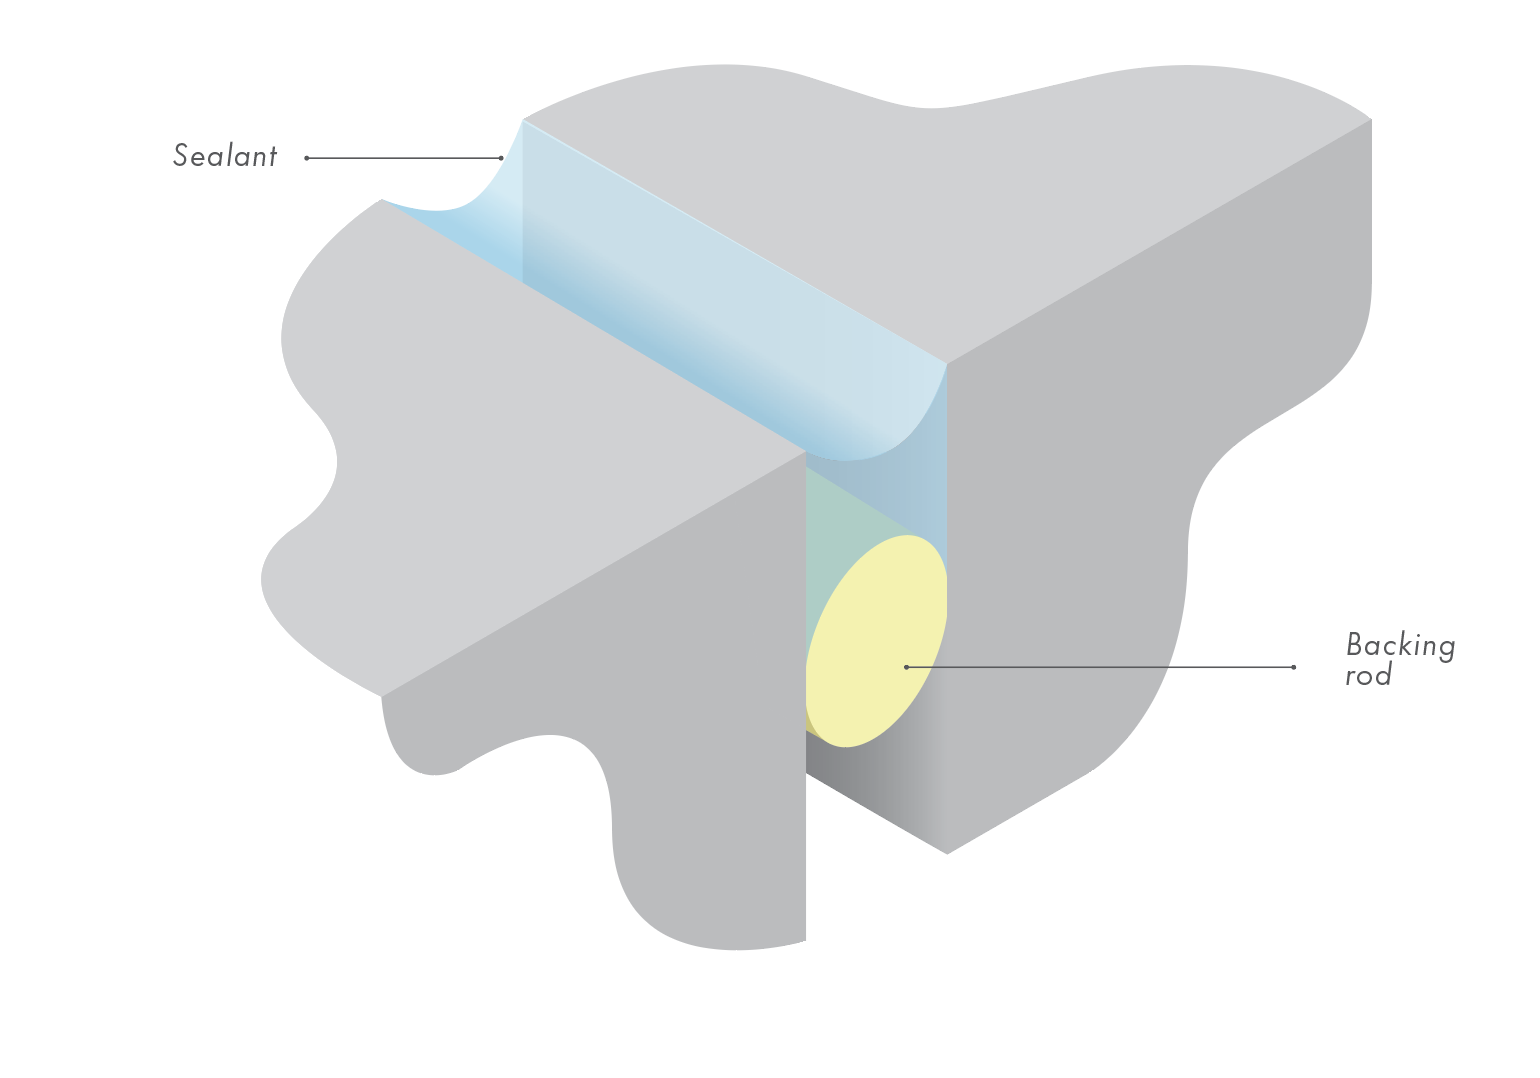
Figure 1 – click to expand
- High-movement joints.
- Joints exposed to high weathering/ moisture.
- Locations that are difficult to access.
Application
To be effective, the sealant must:
- Completely fill the joint to the right depth.
- Be fully in contact with the joint sides for the full sealant depth.
- Not adhere to the back of the joint.
- Have no air trapped in it.
A bond breaker, such as tape, to small joints in thin claddings or a PEF backing rod to larger joints (Figure 1) can help control sealant depth and ensure only side adhesion occurs. This allows the sealant to stretch more easily.
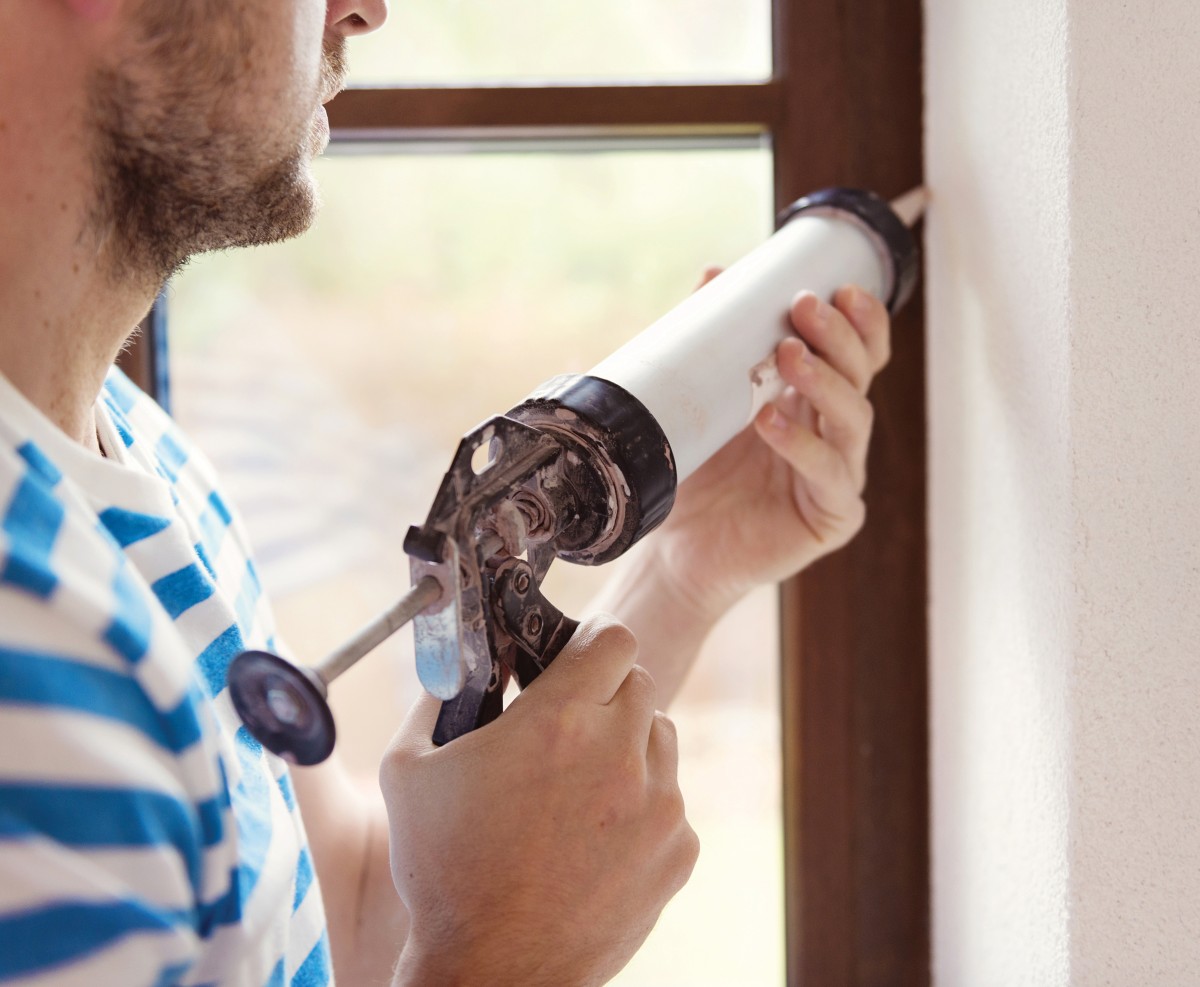
Mask joint edges and apply sealant within the time noted on the primer container. Push the gun in the direction the sealant is being applied (see image) to force sealant into the joint, then tool for a smooth finish.
Tooling helps force sealant into the joint, ensures sealant wets the joint sides, brings air to the surface and gives the correct contour.
Use the manufacturer’s recommended solution to lubricate the tool and prevent sealant sticking to it. Remove masking tape after tooling.
Remember that some gaps must be left open, chiefly for ventilation and drying in a wall assembly. These include:
- At the base of cavities – a cavity closure or open perpends in brick veneer.
- At the top of brick veneer – every third perpend (one course down) left open, or a 5mm gap to the soffit.
- Under brick sills more than 2.4m wide (open perpends).
- Across the face of a sill tray flashing when windows are installed in direct-fixed cladding.
- In both direct-fixed and cavity claddings between the base of the cladding and:
- a head flashing across openings.
- a horizontal joint flashing.
For more details, see BRANZ Bulletin 601 Sealants for cladding joints.
© BRANZ Builders’s Mate Issue 85, August 2017
Register to earn LBP Points Sign in
7 Comments
Leave a Reply
You must be logged in to post a comment.


Good Quiz
nice one
Good info
Yes
Good Quiz
Good advise
good one