The lowdown on putting up fences
27 Oct 2016, Featured, Prove Your Know How, Technical
Builders are often asked to advise homeowners on fencing so this article may provide a useful starting point.
Fences, screens and walls are fundamental aspects of landscape design and construction, defining borders, creating spaces and providing various degrees of privacy and protection from the elements – here are some tips to help you overcome any fencing hurdles
If a fence is to be built on a common boundary, both neighbours are obliged to each contribute an amount equivalent to at least half the cost of a standard ‘reasonably satisfactory’ fence.
The proportion of the costs can only be claimed from a neighbor if prior written notice is given that a fence is going to be built and the neighbor is advised of the cost of the proposed fence.
Neighbours should be consulted in the first instance, but if an agreement can’t be reached over dividing the costs (or what constitutes a ‘reasonable standard’ of fence), there is a formal process that can be followed in which a non-cooperative neighbor is served with a Fencing Notice.
The notice must state that it is served under the Fencing Act 1978, must include the names and addresses of both parties involved and must be signed and dated. A template for such a notice is provided in the Fencing Act. The notice must also describe:
- The boundary to be fenced.
- The type of fence.
- Who will build the fence.
- The estimated cost.
- How materials are to be purchased.
- The start date for the work.
If a boundary fence issue can’t be resolved with tact and compromise, there are provisions in law involving notices and cross-objections that must be carried out in time frames as specified in the Fencing Act. If there is no agreement at the end of the processes described, options such as mediation, arbitration, the Disputes Tribunal or court proceedings will need to be further investigated.
Down the middle
The fence should be built with the posts centred on the boundary line or as near to it as practical.
Usually, a fence of up to 2m high can be built without the need of a resource or building consent, but the relevant territorial authority should be consulted for the rules specific to the locality.
A myriad of fencing options are available, from simple post and wire fences, to prefabricated metal or timber palings or lattice work, to walls of stone, brick or concrete block.
The requirements are that they:
- Remain durable.
- Are aesthetically pleasing.
- Resist or deflect wind loads.
- Comply with Resource Management Act requirements for the site in terms of heights.
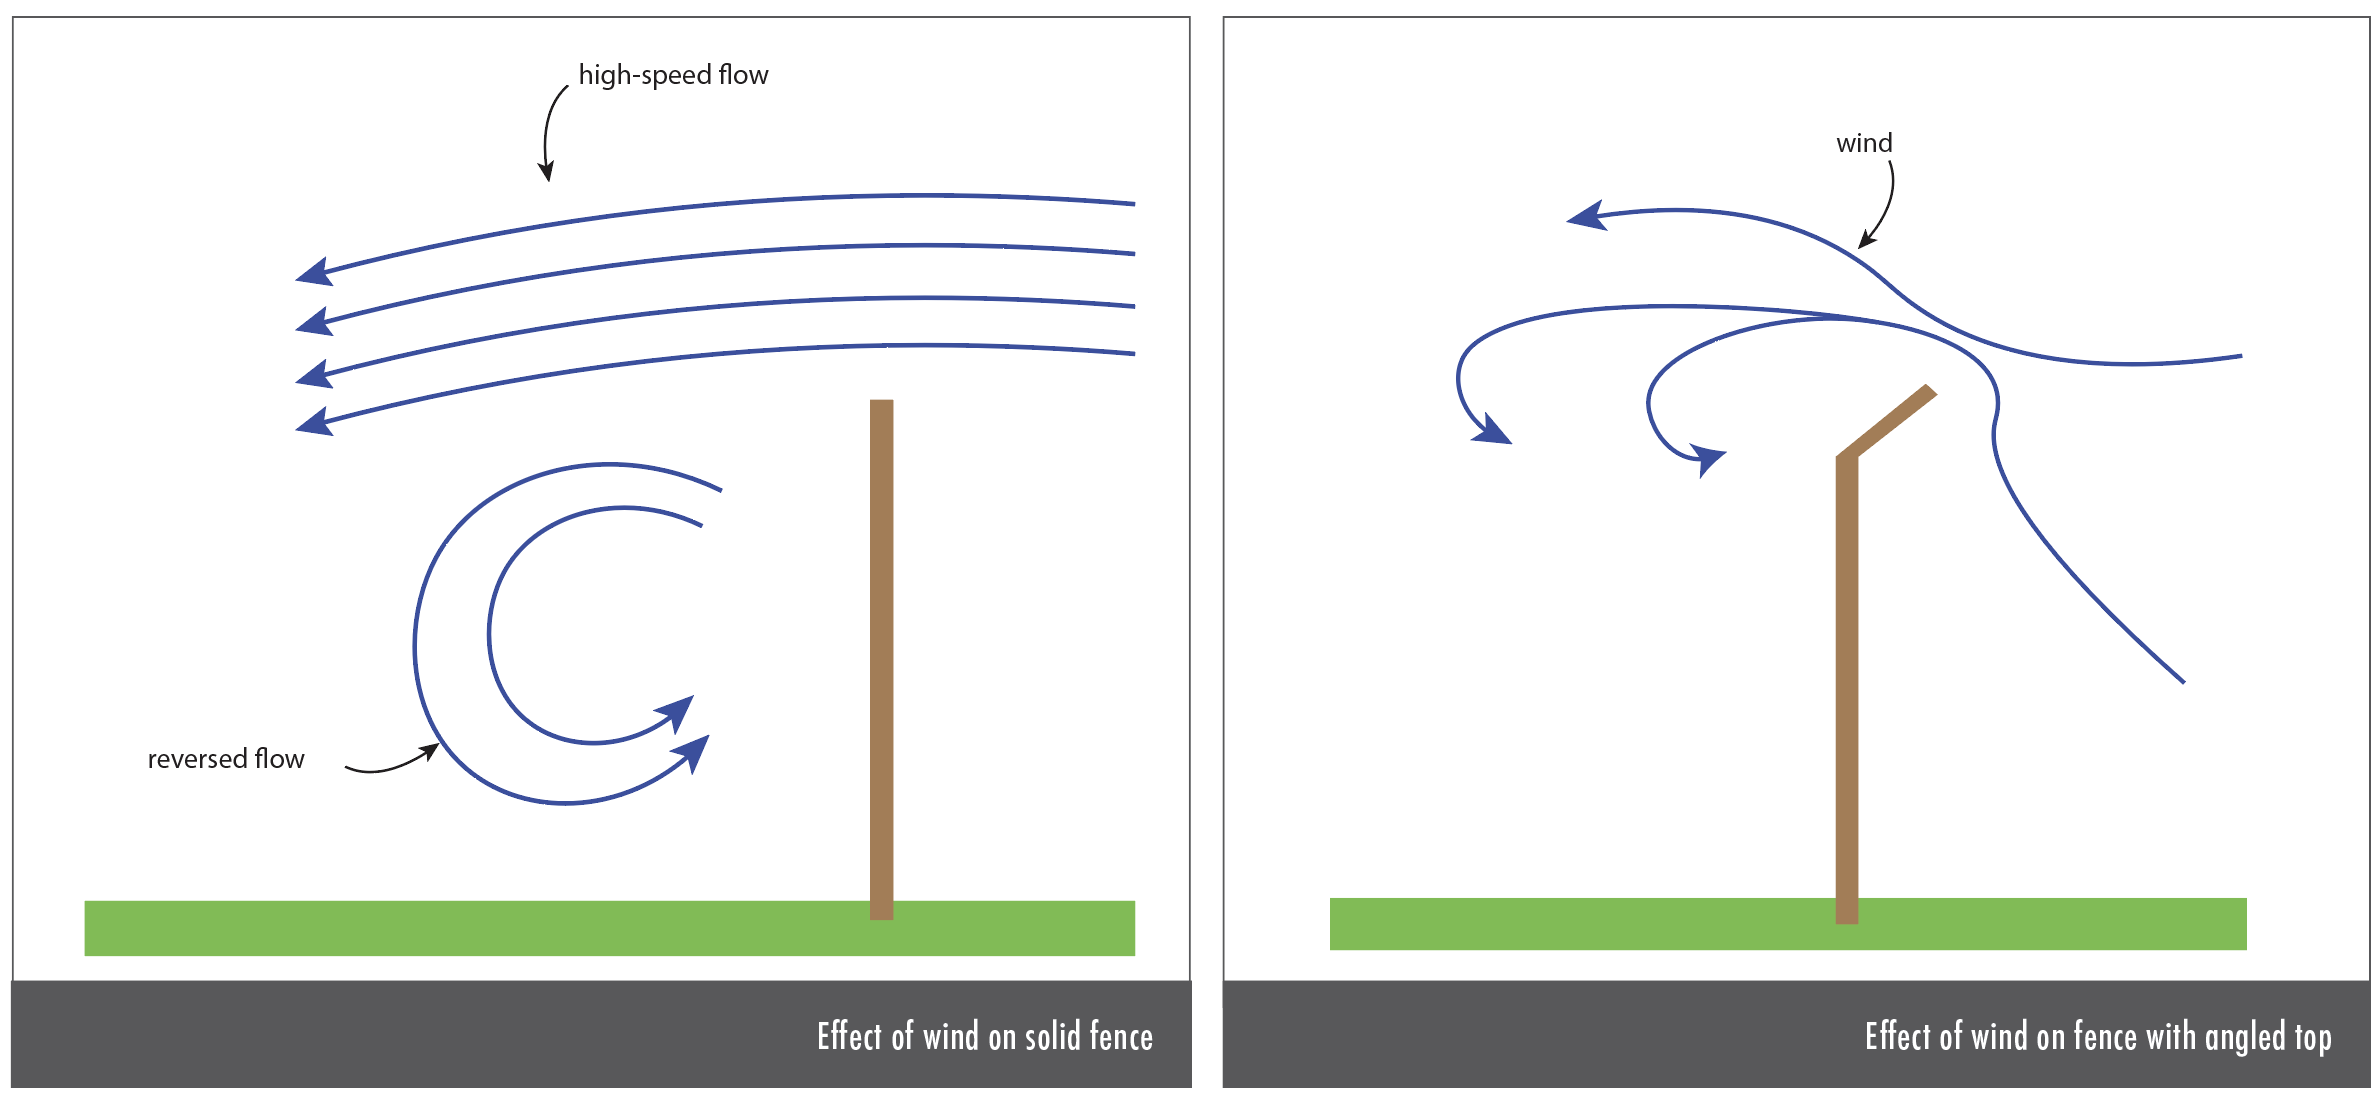
For privacy, solid fences provide the greatest benefit, but for protection from the wind, the requirements are different.
Shelter from the storm
Fences that completely block the wind provide localised protection immediately adjacent to the fence, but create downwind turbulence. Angling the top or installing a strip of lattice across the top of the fence can reduce the turbulence.
For maximum shelter from wind, a fence should have about 40-50% of its face area open and be constructed with gaps – fewer at the base and increasing with height. Such a fence should provide a sheltered lee area with width of four to five times the height of the fence.
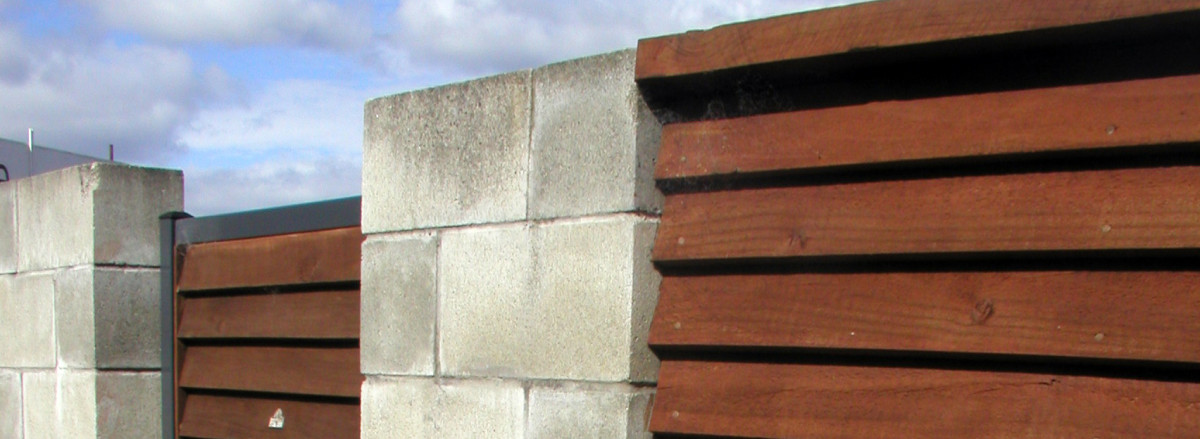
A fence constructed of offset horizontal planking or palings diffuses the wind as it passes through the fence. Even if the fence has more than 50% permeability, the effect of draughts are minimised because the wind cannot directly flow through the gaps.
Lattice fences have an even distribution of solid material and gaps to moderate the airflow, although they do not have the progressive increasing of open area recommended above. The approximate permeability of lattice fences is:
- 20mm lattice with 20mm apertures – 23%.
- 50mm lattice with 50mm apertures – 25%.
- 25mm lattice with 50mm apertures –42%.
Vertical paling or board fences provide greater protection from the wind when the gaps and palings are narrower and of similar sizes. Where wide palings are used, the wind that passes through the gaps will be more noticeable.
Windbreak fabrics can be fixed over wire or timber fences to provide additional wind protection. Such protection may be useful on a temporary basis until wind-tolerant planting is established.
In areas subject to frost, leave a small gap at the bottom of a fence or planting (particularly if there is a vegetable garden behind the fence) to avoid trapping cold air and to reduce the risk or severity of the frost.
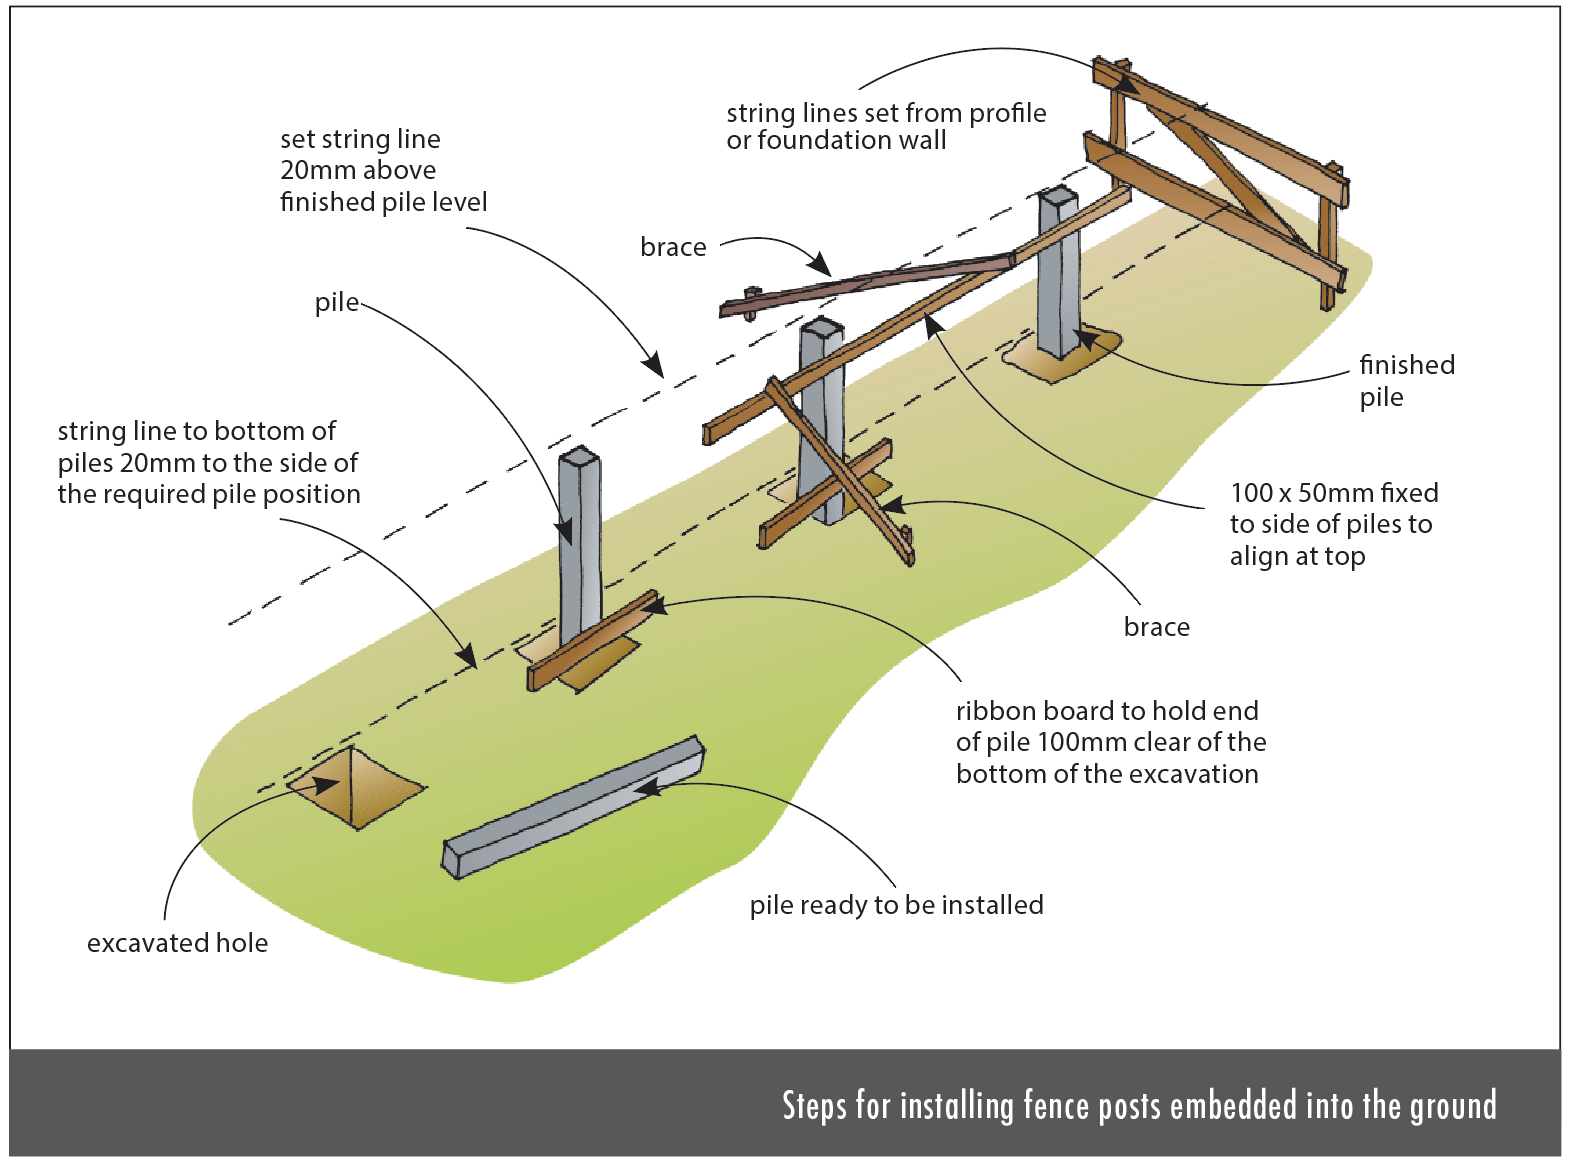
Timber post and rail fences
- Use H4-treated or naturally durable timber for all in-ground material. Using H4 treated timber (or equivalently durable timber) for the bottom rail of a fence is desirable where it is likely that the rail will be covered by or in contact with mulch.
- Posts should be placed 100mm into the ground for every 300mm above ground.
- Ensure the excavation is filled with rodded concrete (preferably) or thoroughly rammed earth – limiting fence height to 1m is recommended when rammed earth is used to fill post holes.
- Keep timber rail spans smaller rather than larger. The longer the span, the greater the potential for sag in the complemented fence – for example, limit the span of a 100x50mm rail on edge to less than 2.4m.
Other factors to consider for timber-framed fences are:
- Ensure fixings holding trellis panels together will be durable – staples should be stainless steel for external use.
- Keep fibre-cement and profiled steel fence panels clear of the ground.
- Select fittings such as gate hinges and catches that are durable – stainless steel fittings are preferable to zinc-plated fittings, which are not suitable for external use on treated timber.
- Ensure the spans of fencing panels are in the limits set by the manufacturer – typically 600mm maximum for fibre-cement.
For profiled steel claddings:
- Don’t use unfinished zinc/aluminium alloy-coated steel in corrosion zones D or E.
- Ensure factory coatings are undamaged.
- Use colour-matched fixings suitable for the corrosion zone.
- Limit spans (supporting framing spacing) to 1200mm.
- Avoid use where the surface will not be regularly cleaned by rain.
For fibre-cement:
- Use hot-dip galvanised fixings in corrosion zones
B and C and stainless steel in zones D and E. - Paint for durability.
- Limit spans (supporting framing spacing) to 600mm.
Register to earn LBP Points Sign in
1 Comment
Leave a Reply
You must be logged in to post a comment.


all good